Cleaning the tank
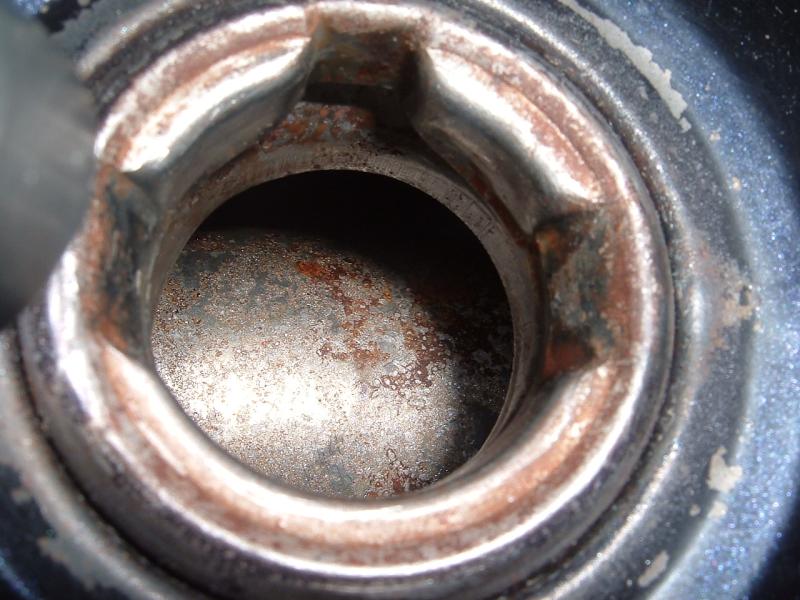
The first step in the POR-15 process is to clean the tank to remove any gum, varnish, dirt, etc. It also helps to have a tank that meets this criteria. Unfortunately, I had one handy
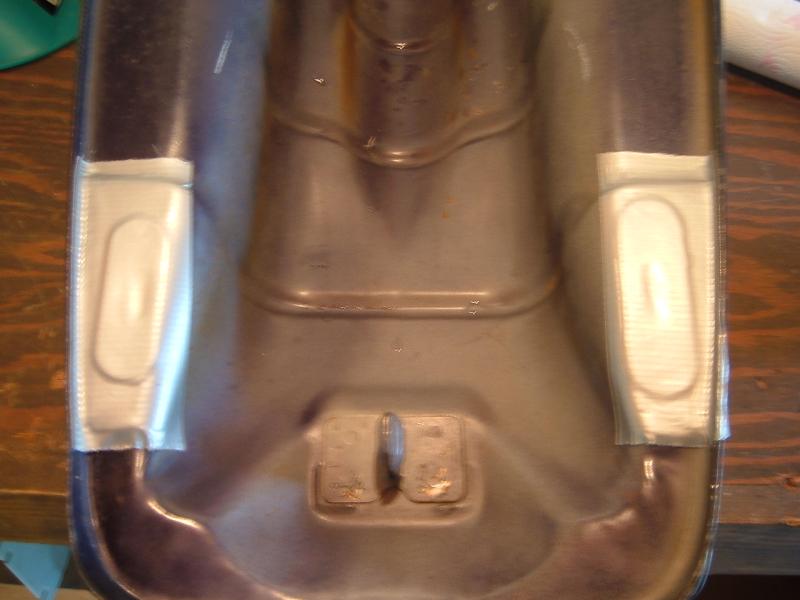
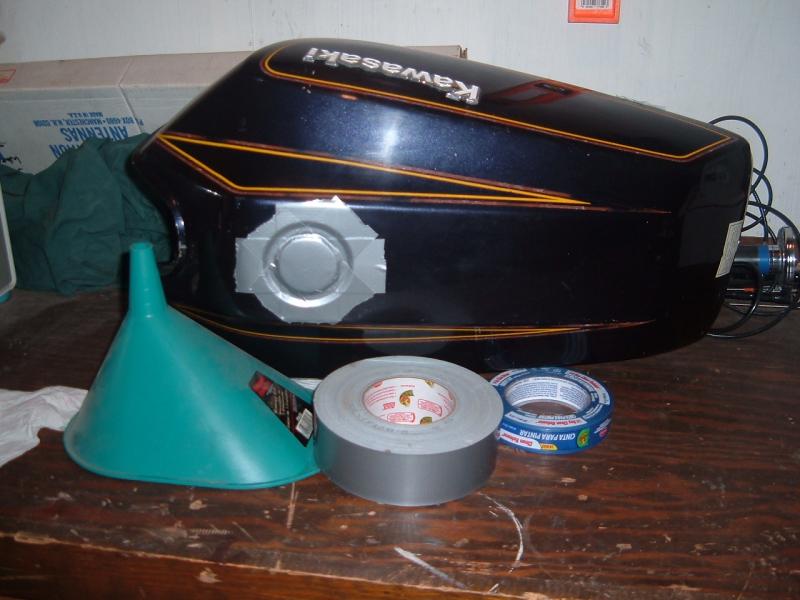
Next order of business was to remove the petcock assembly and the fuel level sensor and let the tank dry for a couple of days. Then I taped the lower openings of the tank:
The cleaning process is done with the Marine Clean compound. The directions on the bottle say that it should be diluted with at least one part of water with up to five parts water to one part of Marine Clean acceptable. I shot for about four to five parts water to one part of Marine Clean and decided to split the cleaning into three clean/rinse cycles. The first two cycles I did on a evening and the third I let it soak over a 48 hour period.
On the bottle it says that a hot solution of Marine Clean and water (the hotter the better) will give better results. One problem is that hot water in a cool tank will result in air expansion with enough pressure to cause the tape over the openings to fail. So, I used a warm solution which minimized this effect. I did notice on my first application that Marine Clean will foam and will cause the tape over the filler inlet to seep bubbles since it was more difficult to get a good seal on it compared to the petcock and fuel sender ports.
I then taped over the filler:
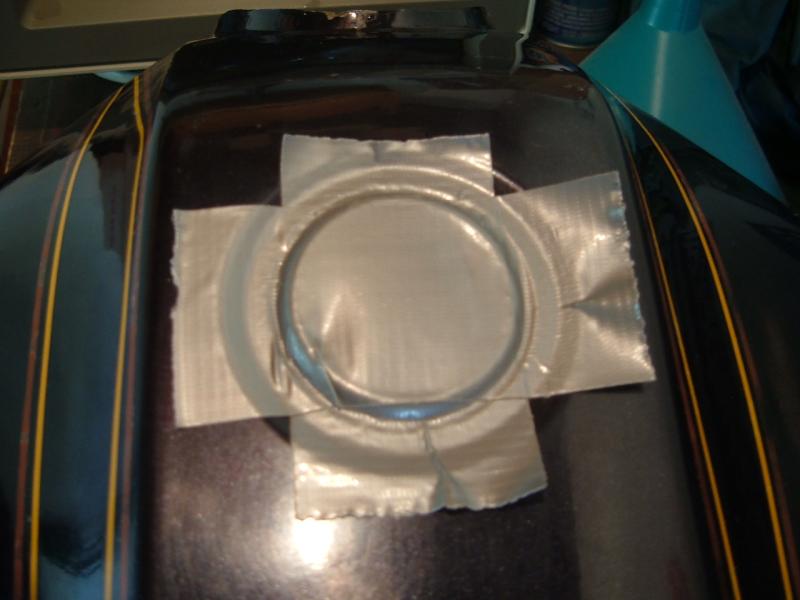
If I agitated the tank vigorously, I found the tape over the filler began to seep as the Marine Clean solution foamed. This didn't happen with the tape over the ports on the bottom of the tank as they have a large flat area surrounding them. Since I wasn't sure if or how the cleaner would affect the paint, I made sure to wipe it off the painted surfaces with a damp towl. I didn't notice any adverse effects to the paint during the cleaning processes except stripping the wax if it lingered too long.
After 30 minutes of sloshing and soaking I drained the tank into a bucket and what came out really surprised me. Besides the obvious rust chunks there is a considerable amount of varnish in the bottom of the bucket:
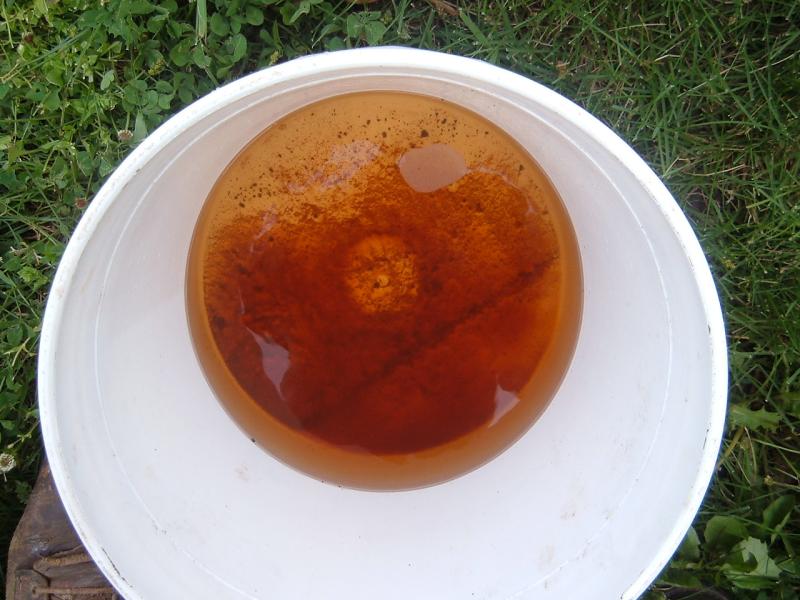
I then rinsed the tank three times with a gallon of tap water for each rinse. This was enough to remove most of the foam. Inspecting the tank afterward revealed that it wasn't as rusty on the bottom as I had previously thought. I think most the rust I had seen along the bottom was trapped in the varnish that can be seen in the photo above. Seeing a lot more shiny metal was definitely encouraging.
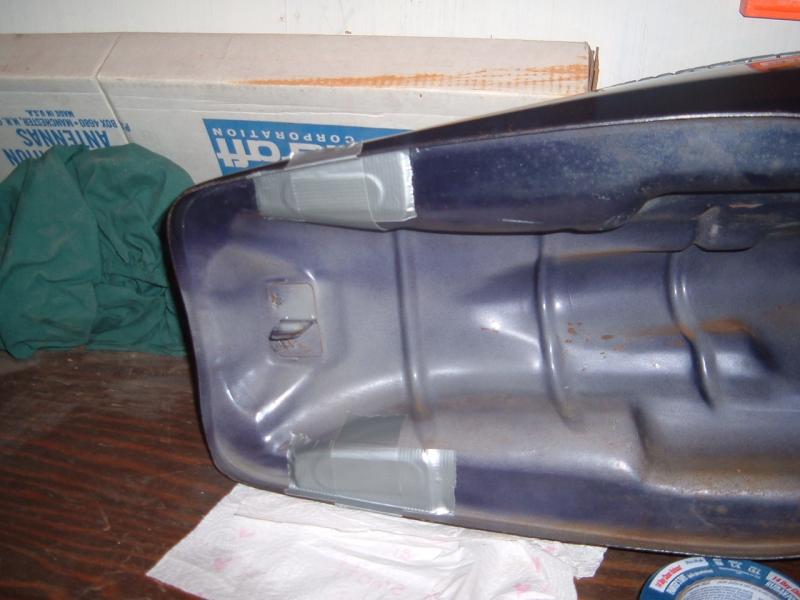
I did another clean/rinse cycle and then put the third and final batch into the tank to soak it for a couple of days. Since I would be leaving it in various positions for several hours I doubled the tape:
After letting it soak for about 48 hours I rinsed out the tank with a gallon of tap water five times. After the third rinse very little foam came out so by the fifth rinse most of the cleaning solution should have been removed.
As suggested by the instructions I rigged up an old hairdrier I had laying around to dry the tank:
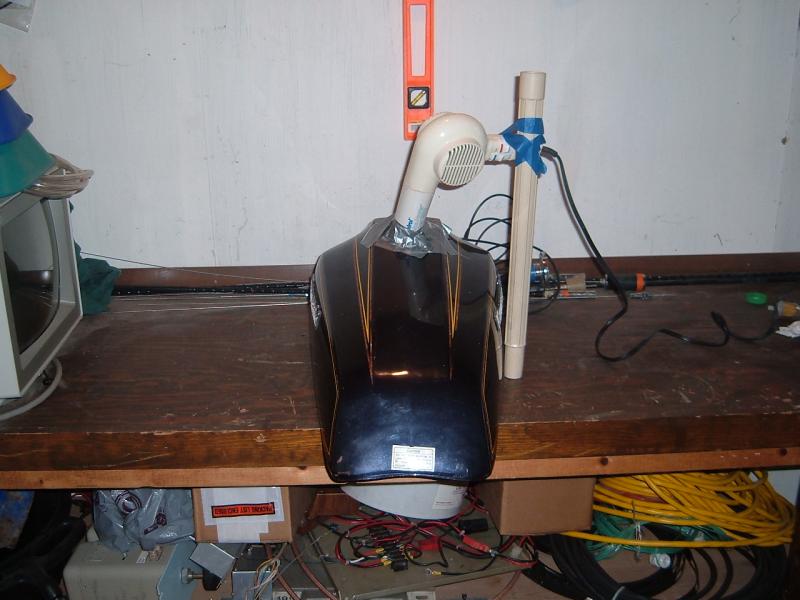
The old drier turned out to not be up to the task as the aged plastic broke and the poor thing just fell apart after running for several hours. At least I got the tank dry for the next step--the application of Metal Ready.
