In a prior post, SSH Tunnels and Systemd, the concept of SSH tunnels and the use of the systemd user daemon to control them were introduced. This post will introduce so-called reverse tunnels which are simply tunnels initiated from a remote system to a local system. The remote system sets up the port forward and on the local system the tunnel is presented as a listening TCP port hereinafter called an endpoint. Any connection or data sent to that port on the local system will be sent over the tunnel to the remote system just as with a normal SSH tunnel.
This article builds on the concepts presented in SSH Tunnels and Systemd and SSH tunnelling for fun and profit and assumes those articles have been read, or at least skimmed, first.
Scenarios
The situations where a reverse tunnel would be useful aren’t as common as a normal tunnel but I have had a couple of situations where their capability has proven useful. The first was several years ago. Our current WISP had announced that they were shutting the former system down and that customers would need to find an alternative. For us the alternatives were satellite (far predating Star Link) or cellular. A coworker embarked on the satellite route and his experience told me that I didn’t want it so I investigated cellular.
Stuck behind CGNAT
I was able to procure a router from the carrier and set about testing it. Whereas on the WISP my router was assigned a public, i.e. routable, IP address, the cellular modem did not. It turned out that the carrier employed CGNAT and as I was routinely accessing my main desktop from the Internet to read mail and do other things, I needed a way to be able to access my systems remotely. Not having some remote system in a data center (the Web hosting provider was reluctant to let me use that account for this purpose) I set up an AWS E3 instance that I was able to connect to both from home and from my laptop on the road. Unrelated to the SSH reverse tunnel, the cellular router would lose connection often enough that the entire setup was unreliable. Fortunately, due to customer feedback the WISP installed a new system several months later and I was provided with a routable IP address so I terminated service to the cellular router and later the AWS instance account.
Remote AllStar node
A few years ago I deployed the local UHF amateur radio voice repeater to a site served by the same ISP that I have service with. At the time I was unsure of any inbound connectivity issues that might arise so I set up a set of reverse SSH tunnels to a host in my LAN as a fallback should direct inbound connections to the AllStar node fail. Even though normal methods work fine I have left the reverse tunnels in place as they are of little cost.
At the time I was unaware that there is a dynamic DNS assignment for all accessible AllStar nodes. Even without that dynamic DNS in place, there are no-cost dynamic DNS providers so your remote system can be accessed via a DNS name. Even so, I find the constant presence of the reverse tunnel (with autossh) endpoint on my LAN to be useful.
Security considerations
Even though the remote system might only be a low cost Single Board Computer (SBC, the Raspberry Pi in its various versions being the most popular), there is a risk that it could be stolen or otherwise compromised. Besides the loss of the equipment, there is the risk of a private key falling into the hands of someone intending to do harm. With an ordinary SSH tunnel this is not much of a concern if only public key(s) are present on the system. On the other hand, the remote system must have a private key to initiate a connection to the local host, so it is critical that its access to the local system be limited. There are some steps to be taken on the local host where the reverse tunnel endpoint will appear to limit the capability of any remote key(s) used to access a system on the LAN.
Although not really a security consideration, it is reasonable to open a non-standard port on the local router that will be forwarded to the local host. While simple network scans of the router will not reveal the identity of this port, sophisticated scans certainly will. However, with the use of public key authentication, the likelihood of the successful brute force attack are greatly reduced.
I am not a security expert. For any concerns consult with a noted security expert. If anything presented here is found to be insecure, please drop me a note with advice on how to correct it and I will post it.
Configuring the remote host public key
Unlike my previous post, I will use the terms remote and local to define the respective systems. The remote host is presumably some computer off-site, i.e. not directly connected to your LAN, and the local host is the computer on your LAN where the reverse tunnel endpoint will appear.
Note: This configuration should be done with remote connected to your LAN at home so if/when something gets FUBARed recovery can be performed through a console login on remote. If that is not possible, e.g. remote is an AWS E3 instance, the normal SSH connection should remain unaffected by configuring a reverse tunnel.
Another option is to use a cellular phone as a hotspot to have a route from outside your LAN to test the connection.
Generating the key on remote
Assuming that SSH is already working from local to remote, the first step is to create a public key pair on remote without supplying a password and accepting the default key filename when prompted:
ssh-keygen -t ed25519
Note: The reason for not protecting the private key with a password is because the tunnel will likely be set up by
systemdat system startup and no one will be present at the console keyboard to type a password.
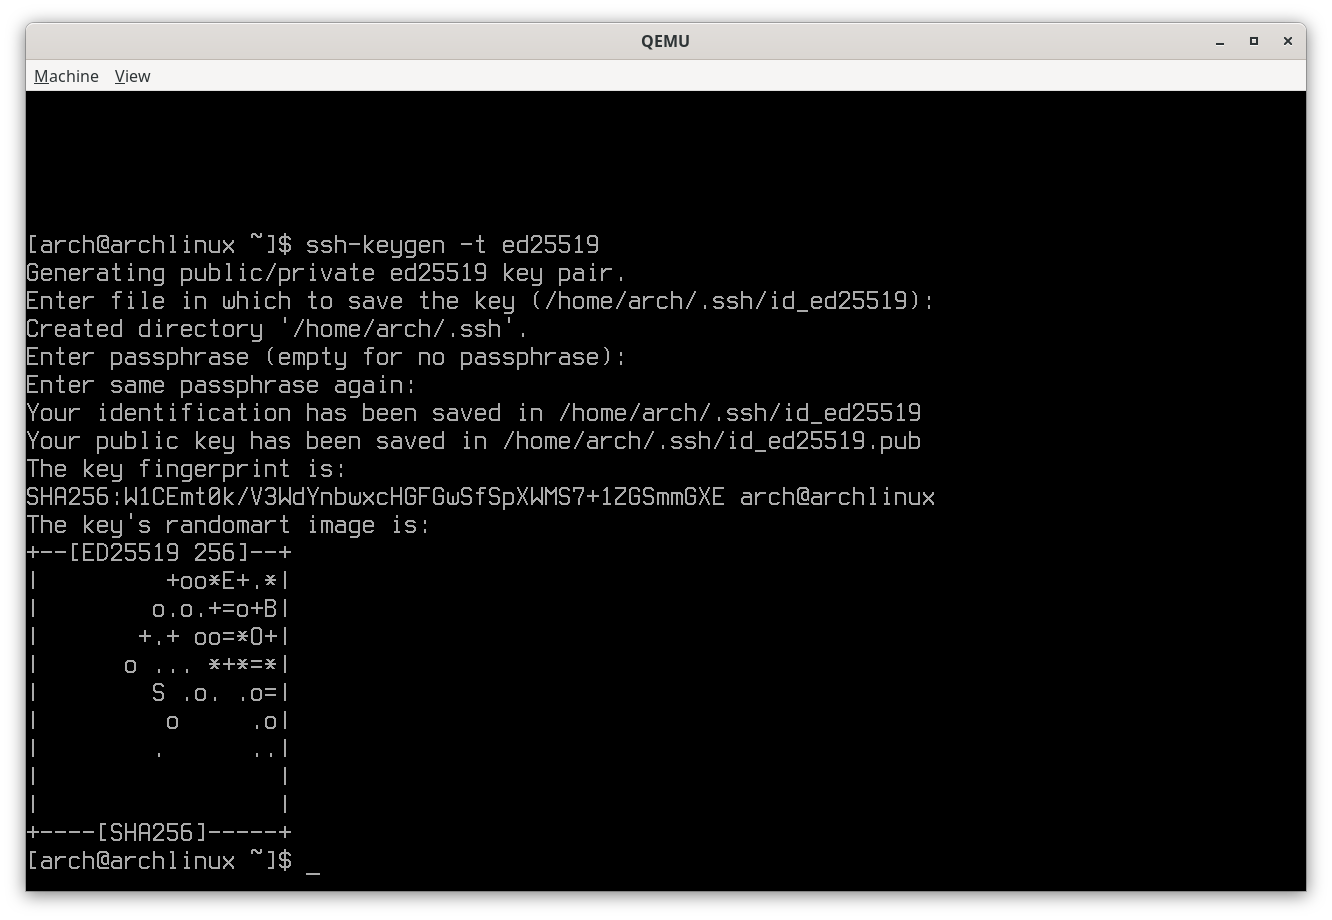
SSH key generation
Copying the public key to local
Copy the public key to local (for this example I will assume that local is
192.168.1.1 and remote is 198.168.1.2 (remember, both systems are on
the LAN at this point); user@ must be supplied if the user account name on
local differs from that on remote):
ssh-copy-id [user@]192.168.1.1
Of course, this presumes that sshd is setup and running on local and
listening on port 22.
Note: The
ssh-copy-idmanual page warns that password authentication will be used, so for this step make sure password authentication is enabled on local even if temporarily.
Note: The IP addresses in the screen grabs are from a virtual machine instance. Use whatever IP addresses are appropriate for your situation.
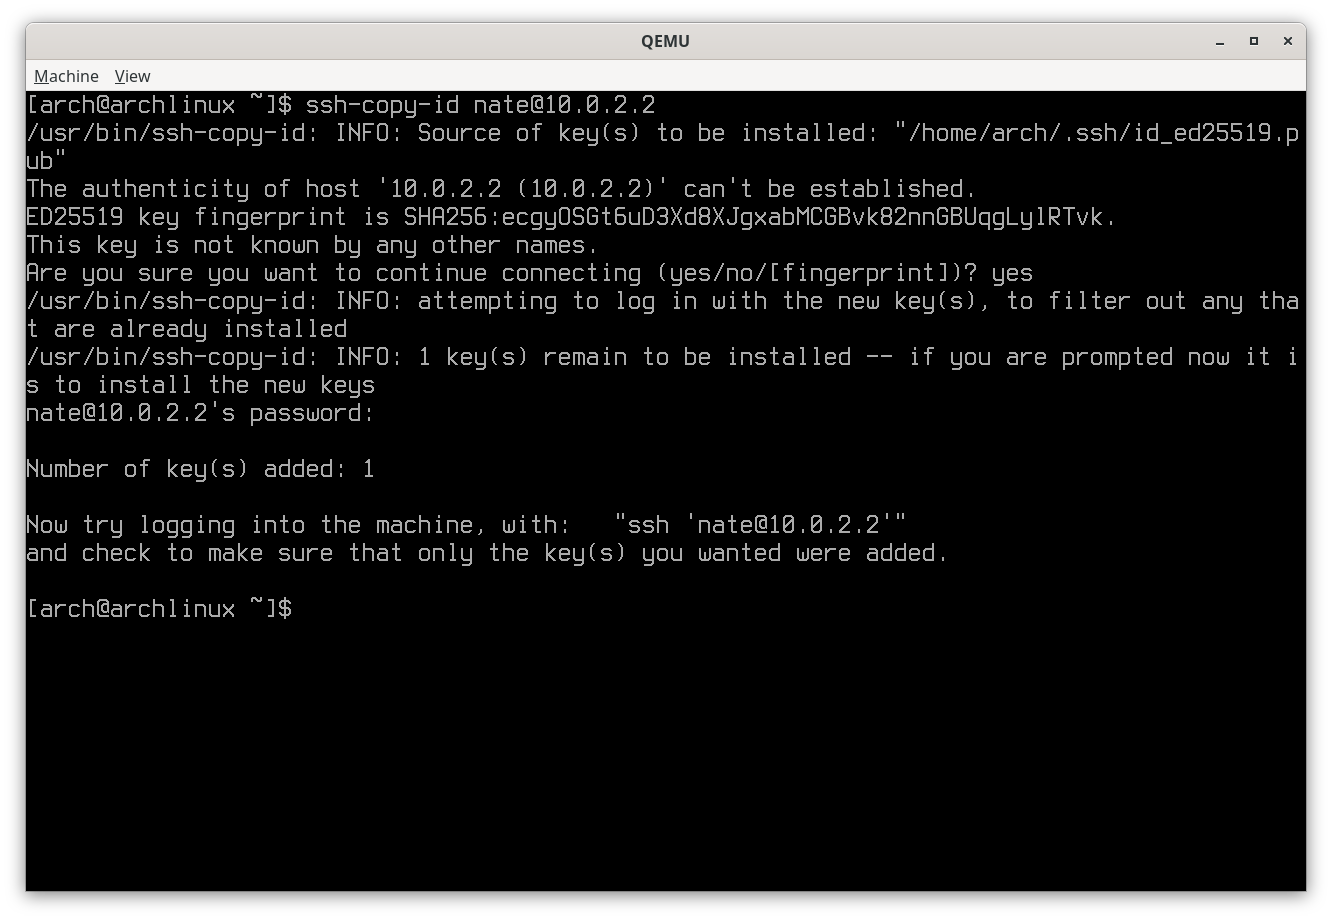
Copy SSH key to local
Test an SSH connection to local
Next disable password authentication on local (if enabled) and test initiating an SSH connection from remote:
ssh [user@]192.168.1.1
If all went well you should be greeted with a shell prompt on local. As the
default filename was selected at the time of the key creation, SSH will select
it automatically during the authentication negotiation with local. SSH will
also detect that the private key is not password protected and will not prompt
for a password, even an empty one. If more than one private key exists in
$HOME/.ssh/, then a specific identity will likely need to be supplied (see
the ssh manual page).
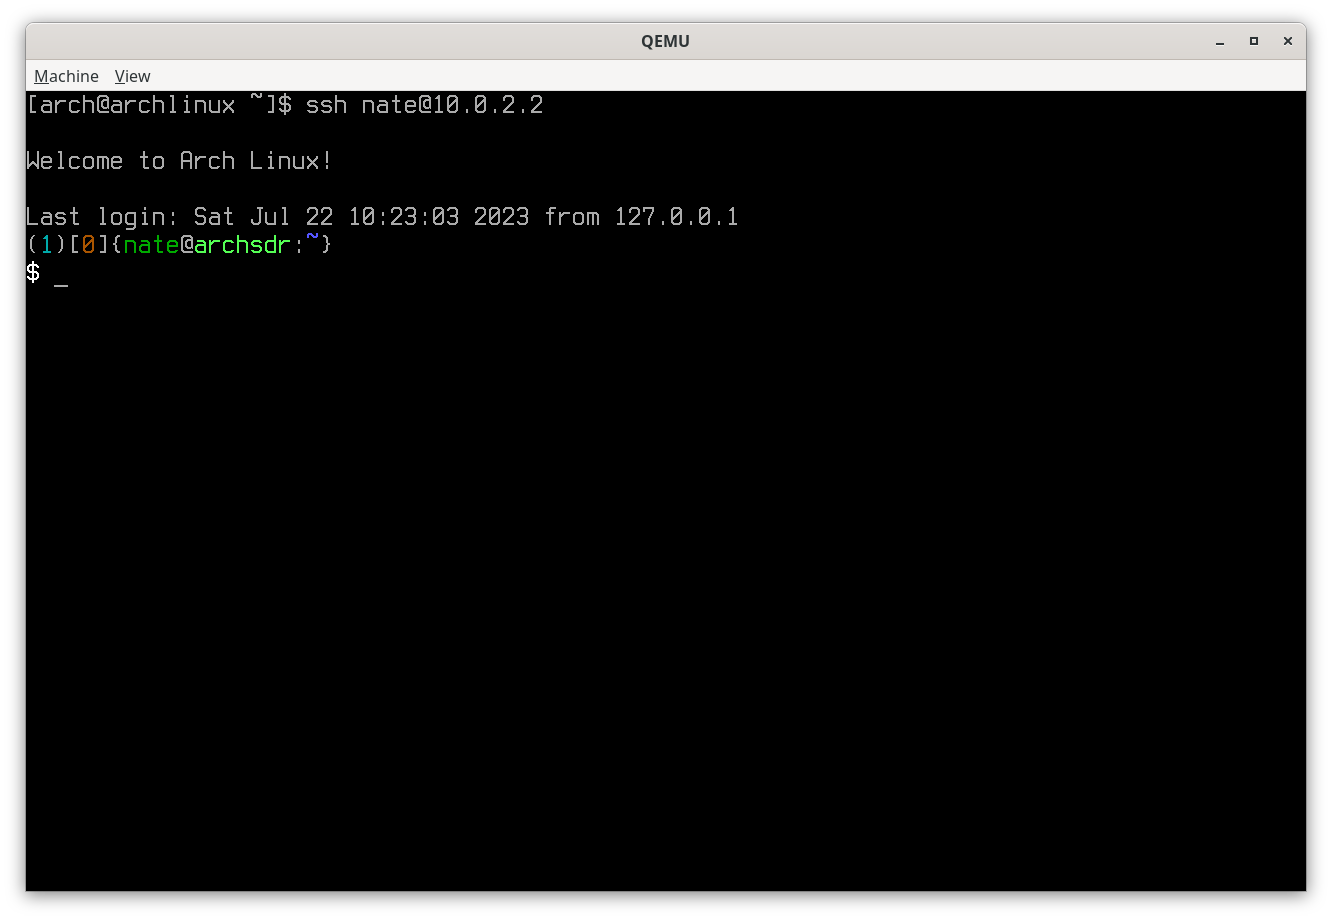
Successful SSH to local
Preventing login to local with this key
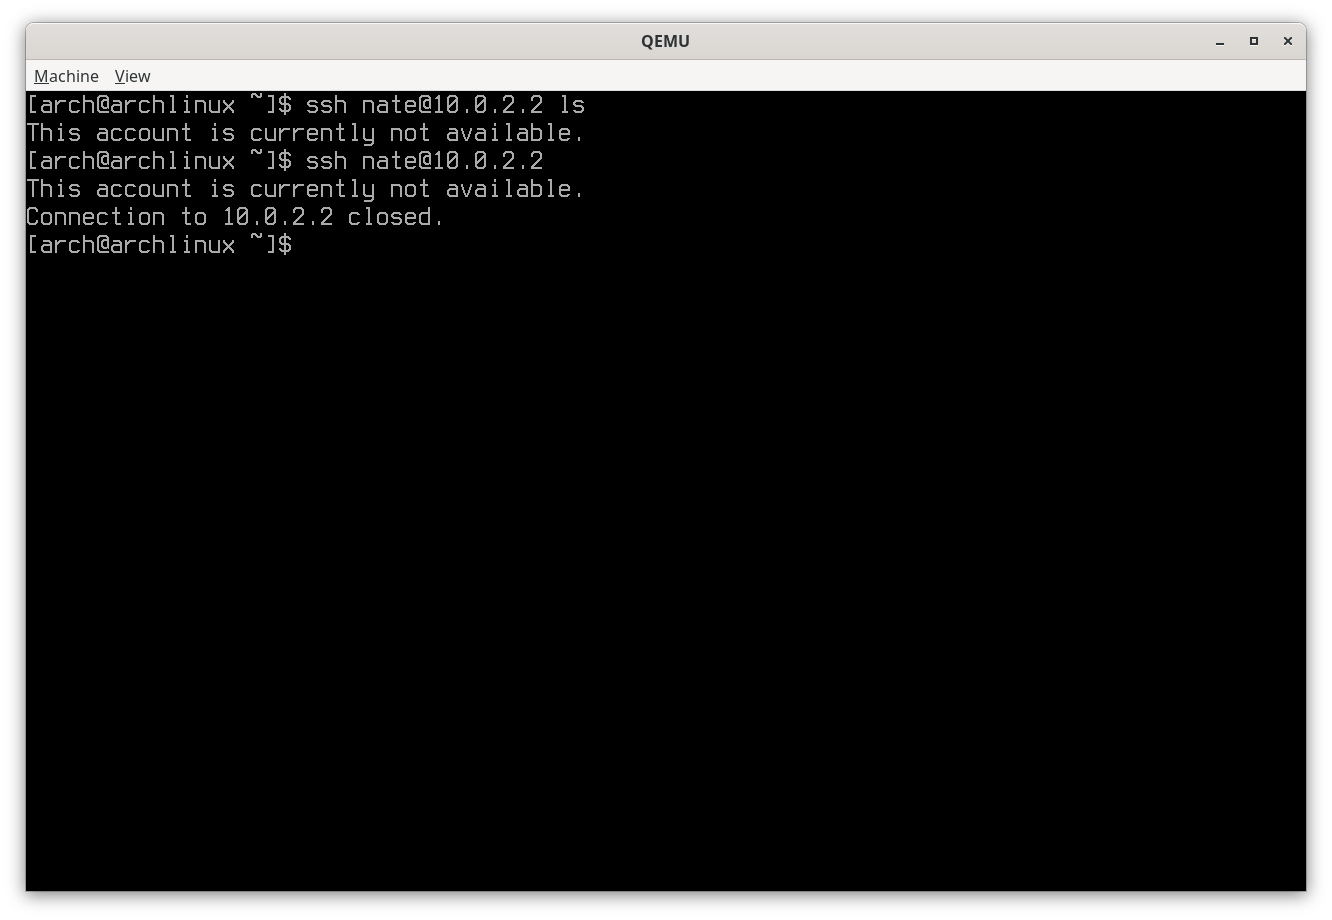
One of the features of SSH is the capability of executing commands on the other host without starting a shell session:
ssh [user@]192.168.1.1 ls
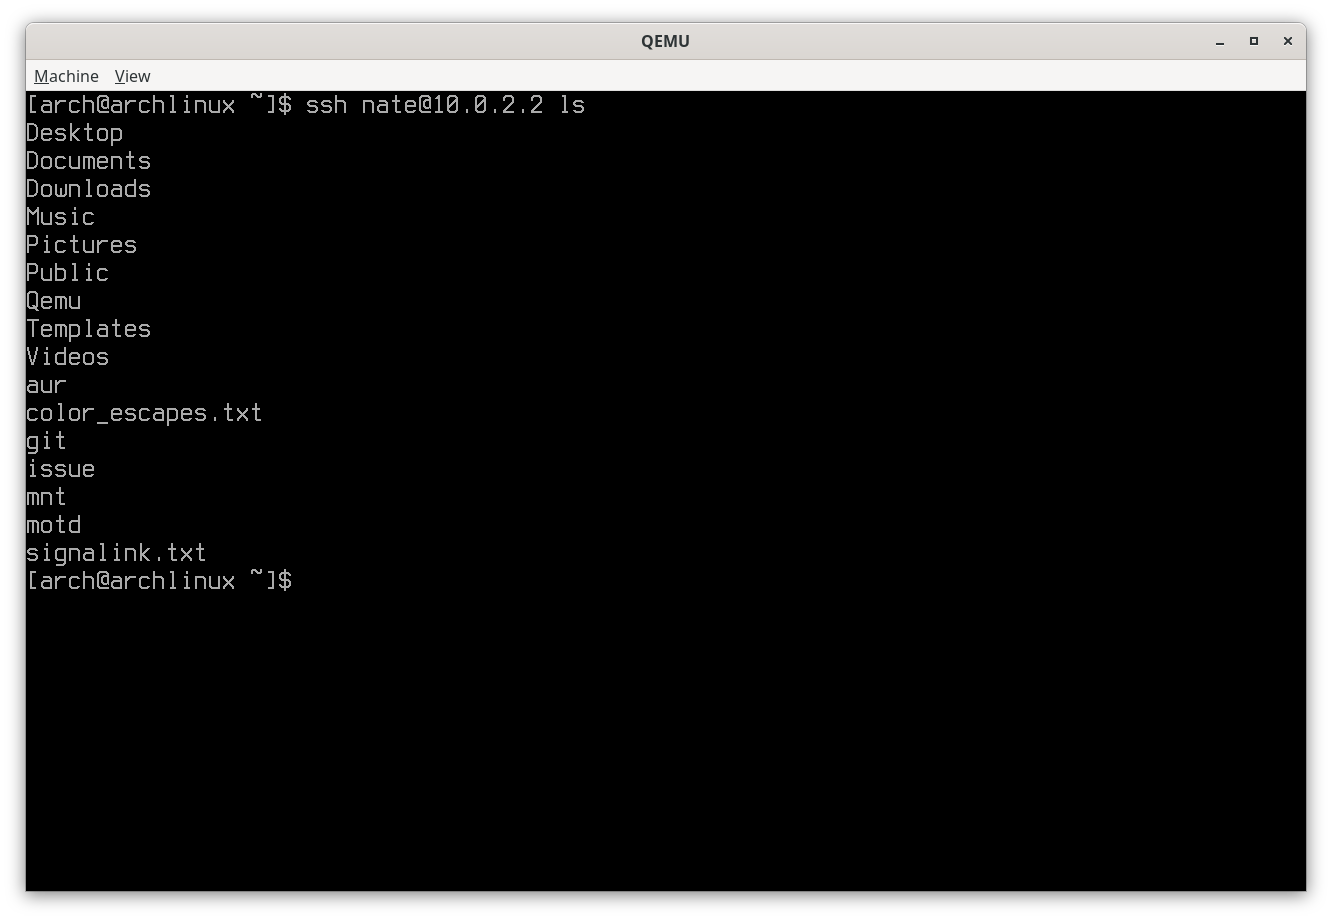
SSH retrieving a directory list from local
As the unprotected key on remote allows complete access to the user account
on local it is necessary that the account on local be protected. SSH
allows restricting the commands that can be executed on the target system, in
this case local in the user account the key was copied to, which is done by
editing $HOME/.ssh/authorized_keys as follows by using
nologin and
several other directives:
command="/usr/sbin/nologin",permitlisten="20222",no-x11-forwarding ssh-ed25519 AAAAC3NzaC1lZDI1NTE5AAAAI...
Neither executing the ls command nor attempting to get a shell prompt is
successful due to the command="/usr/sbin/nologin" directive. The
permitlisten="20222" directive limits the port a reverse tunnel can bind to
and no-x11-forwarding stops any running of an X11 app on local to be
displayed on remote.
Preventing SSH command execution
Testing the reverse tunnel
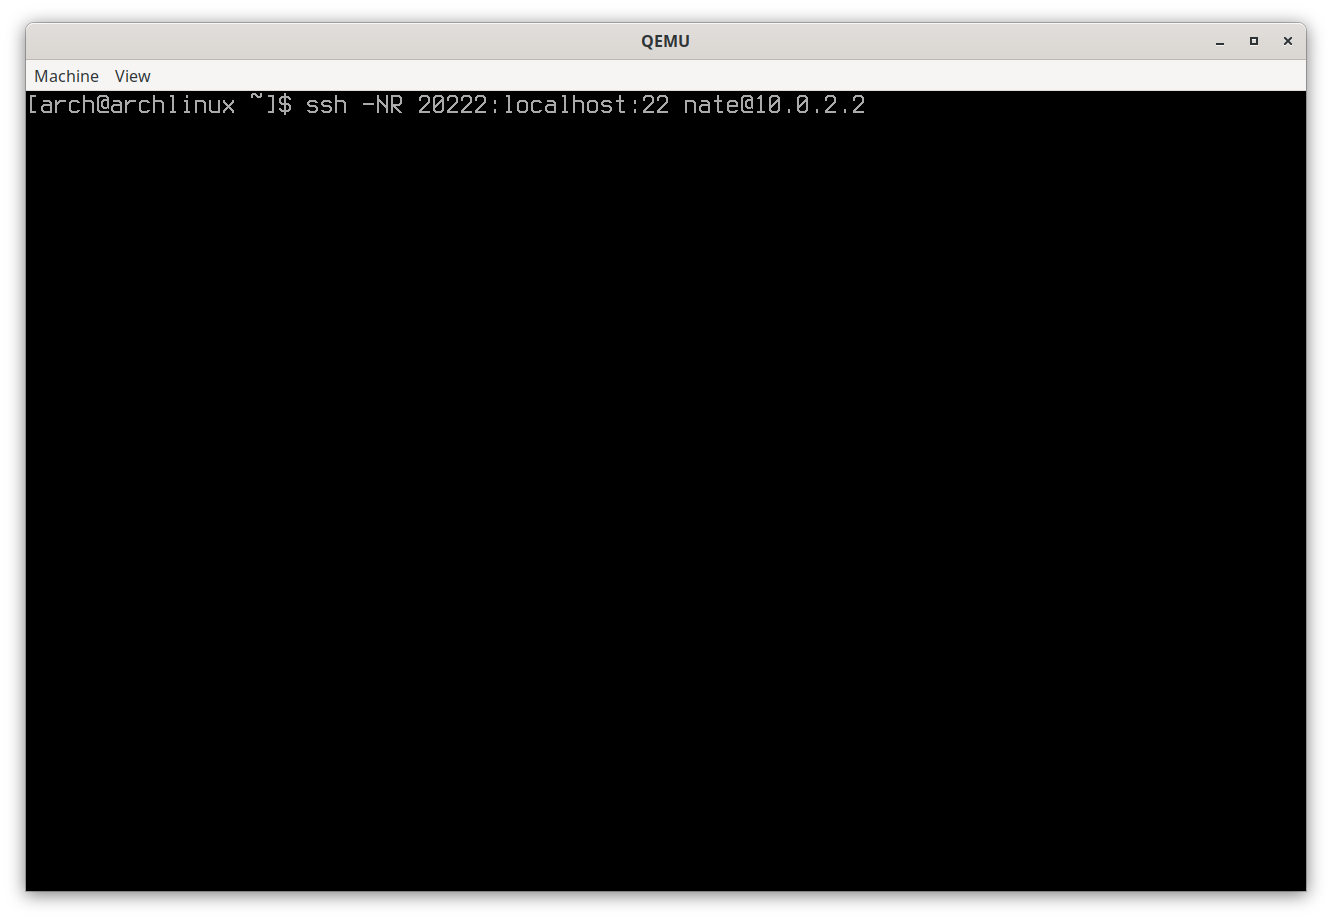
Setup a reverse tunnel on remote to local:
ssh -NR 20222:localhost:22 [user@]192.168.1.1
As the screen capture below shows, the command appears to ‘hang’ by not returning a shell prompt. An SSH command option to background the process was omitted so it can be killed easily by Ctrl-C in this example.
The -NR 20222:localhost:22 option is actually two separate options. -N
tells ssh not to request a login shell which will fail anyway due to the
command option set on local earlier resulting in ssh exiting and the
tunnel not being created.
Note: Like a lot of commands on Unix-like systems,
sshallows single letter options that don’t take arguments to be combined after a single hyphen. As shown, an option that takes an argument may be a part of that list as long as it is last. Multiple options that take arguments must be given separately. Single letter options can be given separately so the command line could also be written as:-N -R 20222:localhost:22.
The -R 20222:localhost:22 option configures the reverse tunnel. 20222 is
the port that will be the endpoint on local while localhost:22 refers to
remote thus connecting the SSH daemon on remote with the endpoint on
local. It can be a bit confusing at first. SSH tunnelling for fun and
profit: local vs
remote
has an excellent explanation in the Remote port forwarding section.
Testing an SSH reverse tunnel
The netstat command can be used to verify the reverse tunnel endpoint exists
on local:
$ sudo netstat -tunlp
Active Internet connections (only servers)
Proto Recv-Q Send-Q Local Address           Foreign Address         State       PID/Program name
tcp        0      0 127.0.0.1:20222         0.0.0.0:*               LISTEN      3047/sshd: nate
tcp        0      0 0.0.0.0:22              0.0.0.0:*               LISTEN      478/sshd: /usr/bin/
Connecting to the reverse tunnel endpoint from local is rather straight forward:
ssh -p 20222 [user@]127.0.0.1
The -p 20222 option tells ssh to connect to the specified port and the
rest of the command is similar to others except the local loop back address is
given. The loop back host name localhost can also be used which may shown an
IP address of ::1 if the IPv6 protocol is in use.
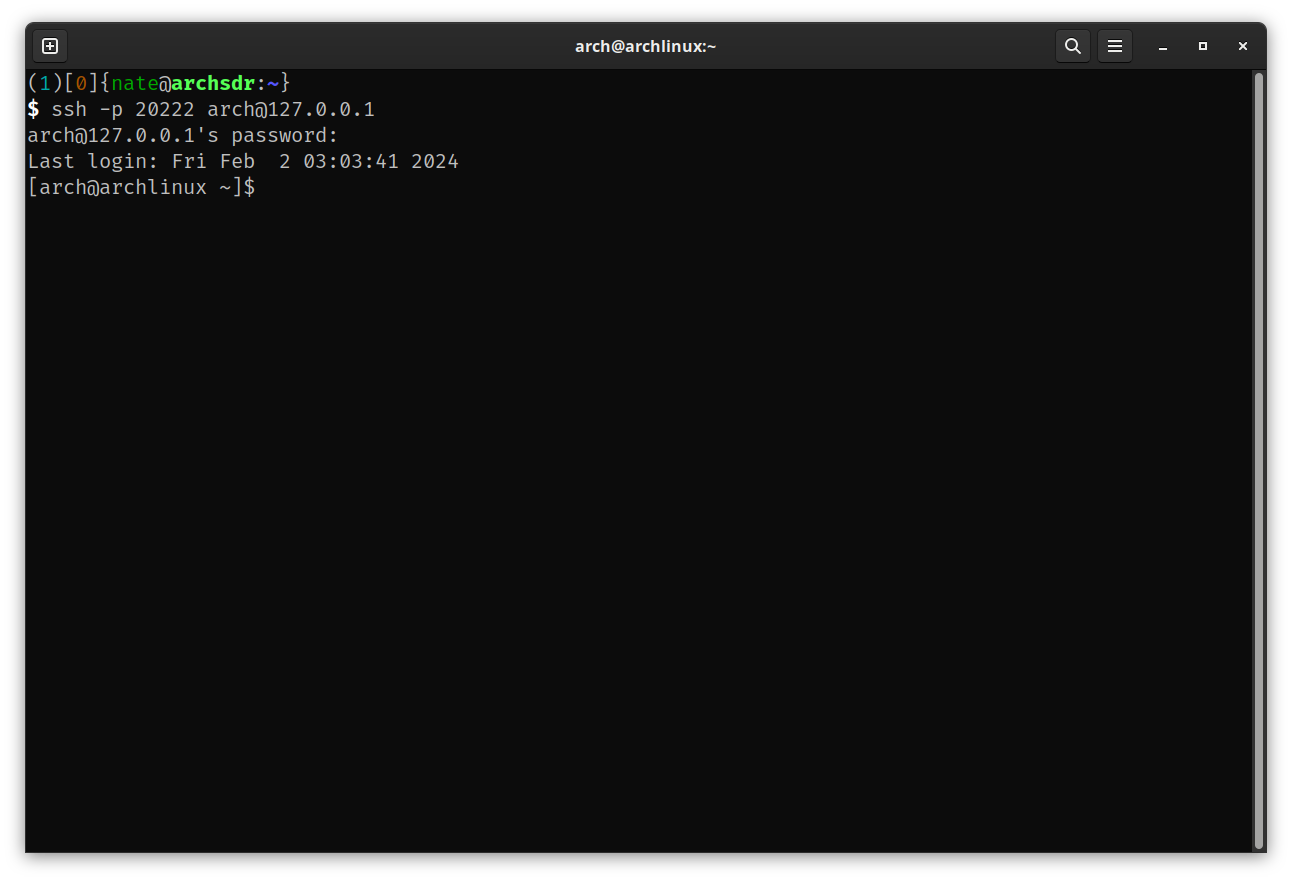
Connecting to an SSH reverse tunnel
Public keys can be used to connect to the reverse tunnel endpoint just as with a normal SSH connection.
The endpoint port number should be in the range of 1024 to 49151 (user
ports). The netstat command can be used to see which ports are already in
use. I chose 20222 for this example because it is in the range of user
ports and since the HamVOIP images for AllStar default to using port 222 for
SSH, it becomes a mnemonic for recalling what the port is for. Choose a port
number that works for you.
It’s important to note that more than one endpoint port can be configured to support different services between hosts such as SSH and a Web server as will be shown in the next section. SSH is quite flexible and even though this is an advanced topic there are many more things it can do.
Controlling Tunnels With systemd and autossh
Much like the setup detailed in the ‘SSH Tunnels and Systemd’
article
on setting up autossh and systemd, most of the configuration is kept in
$HOME/.ssh/config for SSH and the systemd unit file to start the tunnel is
mostly the same.
The stanza in $HOME/.ssh/config:
Host rev-ssh
    HostName your.host.here.addr
    Port 22
    User eastwood
    IdentityFile /home/clint/.ssh/id_your-host
    RemoteForward 20222 localhost:22
    ExitOnForwardFailure yes
    ServerAliveInterval 30
    ServerAliveCountMax 3
Some items of note:
HostNameneeds to be accessible from remote and can be an IP address instead of a DNS name.Portmay well be something other than22especially on your home router where multiple ports may be open to forward to various internal hosts.Usermay be redundant if the same username is establishing the tunnel from remote. If so, its presence here is harmless.IdentityFileshould the full path to the private key created earlier.RemoteForward 20222 localhost:22is the same as-R 20222:localhost:22in the command line above, only without the first colon.
You should be able to set up the tunnel with a simple ssh rev-ssh on
remote. As before it will appear to ‘hang’ and it can be closed after
testing with Ctrl-C.
Setting up another endpoint port through the tunnel to another service on
remote only requires adding another line in the Host rev-ssh stanza:
RemoteForward 20080 localhost:80
Here the RemoteForward directive creates the endpoint port of 20080 on
local and connects it to the Web server listening on port 80 of remote
(if no service is running on port 80 of remote the tunnel will still be
created, there just isn’t any service to answer the call).
Note: The key in
$HOME/.ssh/authorized_keyswill need to be modified with an additionalpermitlistendirective:
command="/usr/sbin/nologin",permitlisten="20222",permitlisten="20080",no-x11-forwarding ssh-ed25519 AAAAC3NzaC1lZDI1NTE5AAAAI...
systemd configuration
This configuration mirrors the ‘Autossh and systemd’ section of the prior article quite closely.
The /etc/systemd/system/rev-ssh.service file:
[Unit]
Description=AutoSSH reverse tunnel service to some.random.host on port 20222
After=network.target

[Service]
User=clint
Environment="AUTOSSH_GATETIME=0"
ExecStart=/usr/bin/autossh -M 0 -N -T rev-ssh

[Install]
WantedBy=multi-user.target
The User parameter should match the login user on remote under which the
SSH key and config files reside.
The biggest difference is that this unit file is placed in the systemd
hierarchy under /etc so it will be started whenever the system is booted.
Doing so requires ‘root’ (administrator) access and also requires that the
service be enabled:
systemctl daemon-reload
systemctl start rev-ssh.service
systemctl enable rev-ssh.service
The daemon-reload command is needed for systemd to add the new unit file to
its list of known services available.
Try the start command first to make sure the reverse tunnel is started and
working.
The enable command will cause systemd to run this unit whenever the system
starts. If you only want to start the reverse tunnel manually then skip this
command. The start command will be all you need in such a case. Presumably
starting the reverse tunnel automatically is desired as there may not be any
other access to the system once it is deployed!
Additional configuration options for LAN access
The netstat output shows that the endpoint ports are “bound” to the loop
back IP address (127.0.0.1) on local:
$ sudo netstat -tunlp
Active Internet connections (only servers)
Proto Recv-Q Send-Q Local Address           Foreign Address         State       PID/Program name
tcp        0      0 127.0.0.1:20222         0.0.0.0:*               LISTEN      3047/sshd: nate
tcp        0      0 0.0.0.0:22              0.0.0.0:*               LISTEN      478/sshd: /usr/bin/
What if you want to access these ports from anywhere on your LAN without having to SSH to local first? This is possible by making some changes on both remote and local.
On remote shut down the tunnel if it is active and modify the lines in
$HOME/.ssh/config as follows:
    RemoteForward *:20222 localhost:22
    RemoteForward *:20080 localhost:80
The addition of *: tells ssh to “bind” to any IP address on local. This
can be seen by starting the reverse tunnel and using netstat again on
local:
$ sudo netstat -tunlp
Active Internet connections (only servers)
Proto Recv-Q Send-Q Local Address           Foreign Address         State       PID/Program name
tcp        0      0 0.0.0.0:22              0.0.0.0:*               LISTEN      19520/sshd: /usr/bi
tcp        0      0 0.0.0.0:20222           0.0.0.0:*               LISTEN      19707/sshd: nate
tcp        0      0 0.0.0.0:20080           0.0.0.0:*               LISTEN      19707/sshd: nate
0.0.0.0 is the IPv4 notation for all IP addresses, or rather any IP address
assigned to any interface on the host. This means the port will be accessible
via any external IP address assigned to local.
But, there is one more step to be done on local. As root edit
/etc/ssh/sshd_config and find the following line:
#GatewayPorts no
Uncomment the line and change its value to yes, save the file, then restart
the sshd server:
sudo systemctl restart ssh.service
The ports will now be accessible from your LAN just as if those services were running on local itself. Instead, local passes any network traffic it receives that is directed to those ports to the reverse tunnel endpoints and ultimately to remote where the respective servers will handle the traffic.
But, as Columbo would say, “Just one more thing”. If local is running a firewall the ports will need to be opened to allow LAN traffic to reach the endpoint ports. In addition, it would be wise to set a firewall rule that only applies if the traffic is sourced from your LAN subnet. Given the variety of firewall packages available, I am going to leave that as an exercise for you.
Summary
SSH tunnels, both normal and reverse, are very useful tools. In many ways they mimic a VPN but benefit from the ubiquity of SSH on modern operating systems. This ubiquity means that many devices such as routers support handling the SSH protocol “out of the box” in a seamless manner. SSH tunnels can be configured on any system that has SSH support which means that additional software is not required. The trade-off is a bit of configuration and testing.
Hopefully these two articles are useful. I know I learned a thing or two more about SSH by writing them, especially the part of binding to the default IP address and making the endpoints directly accessible on an external port. I’ve now changed my way of doing things a slight bit as a result.