Applying the final touch
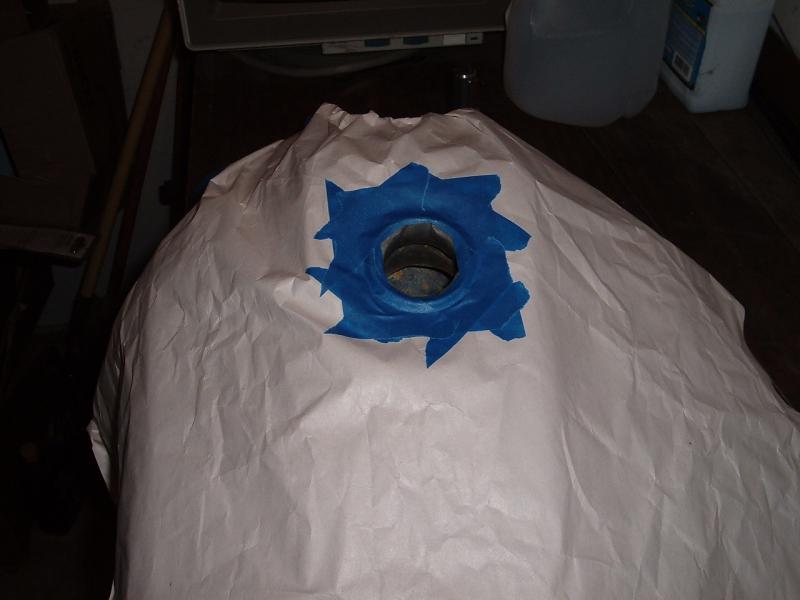
With the tank cleaned, prepped, and dry it is now time to apply the sealer. Of course, I taped the bottom ports, but before doing so I protected the mounting threads by filling them with petroleum jelly. Since I didn't know exactly what I was going to be dealing with, I masked off the tank in case of a spill:
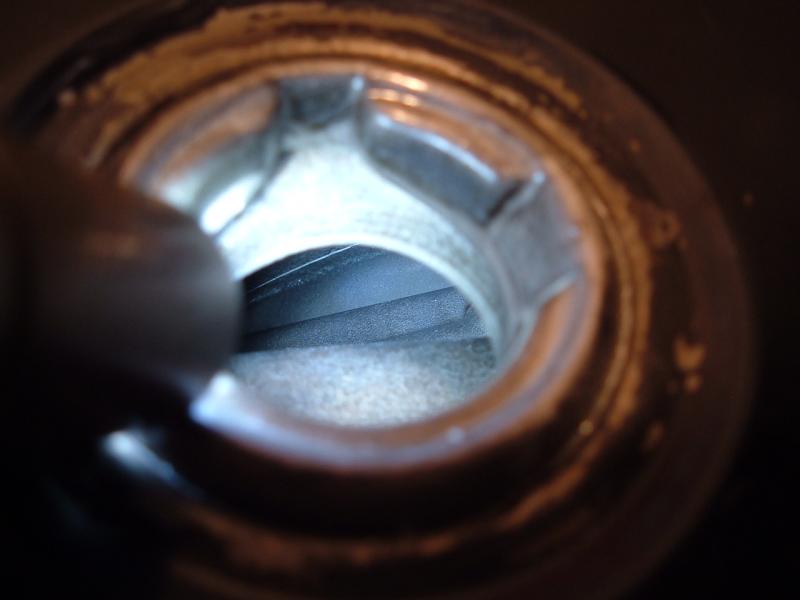
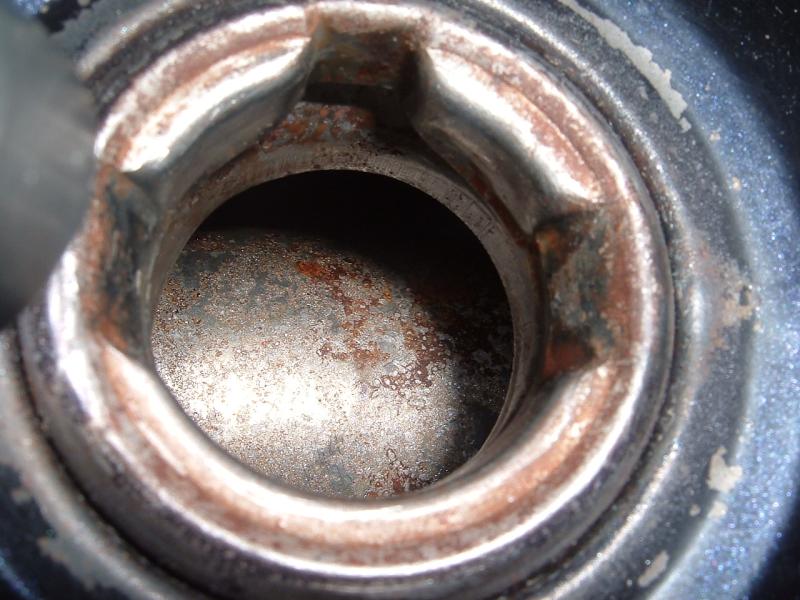
Notice the gray color of the metal. This is from the Metal Ready application. Here is a better view:
The light surface rust appeared while rinsing the tank, but didn't seem to have an adverse affect.
The Tank Sealer itself resembles aluminum paint (sorry, I forgot to take pics at this stage) and needed to be stirred. I used a long nail and spent several minutes stirring until no more improvement was seen.
I used a small funnel to pour the Tank Sealer into the tank and didn't spill a drop. I probably wouldn't have needed to mask off the tank, but I felt less nervous doing so. After pouring the Sealer in I removed the masking and taped the filler hole as in the previous steps.
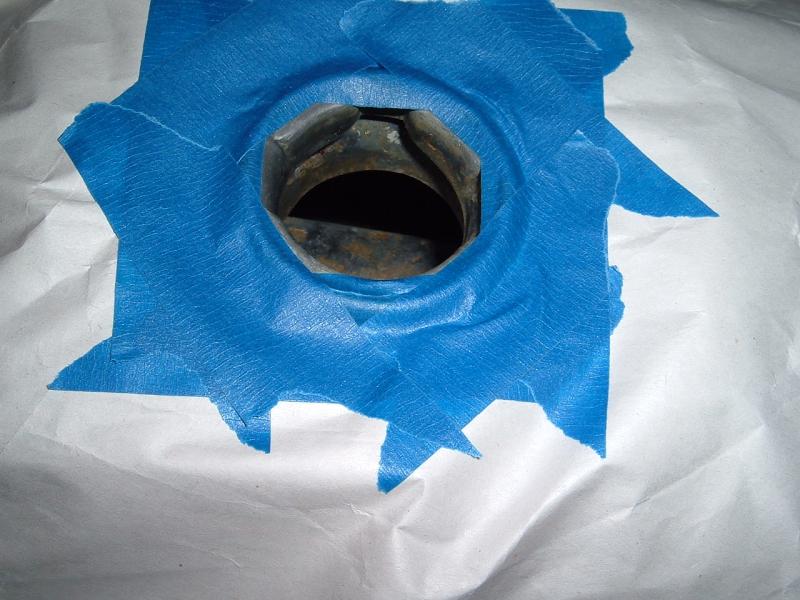
I spent about 45 minutes gently rolling the tank into different positions and letting it set for several minutes on the worst parts of the tank. I removed the tape over the filler to inspect how things turned out:
Since POR-15 claims that the Tank Sealer compound hardens best in the prescence of moisture, I removed the tape from the bottom ports and let the excess Sealer drain into the bucket of left over Marine Clean solution. By the next morning the excess sealer had drained out and was already fairly glossy and dry in the tank.
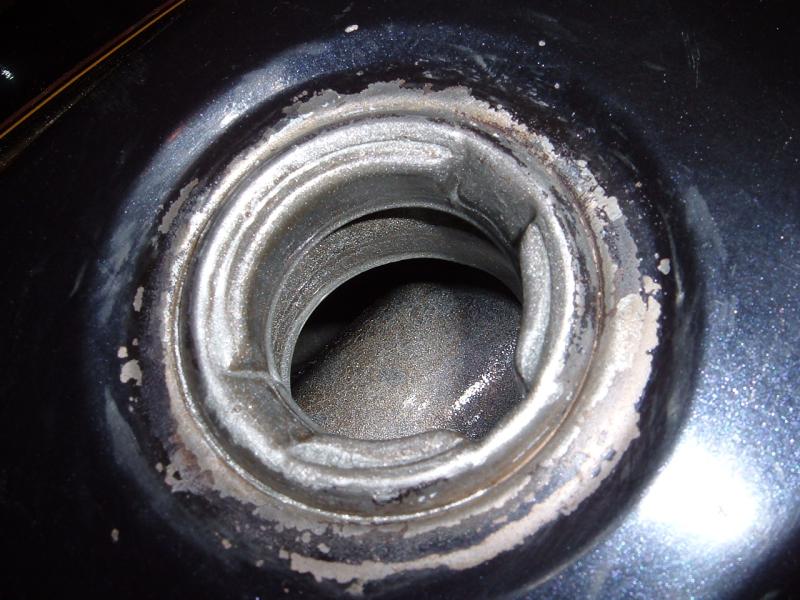
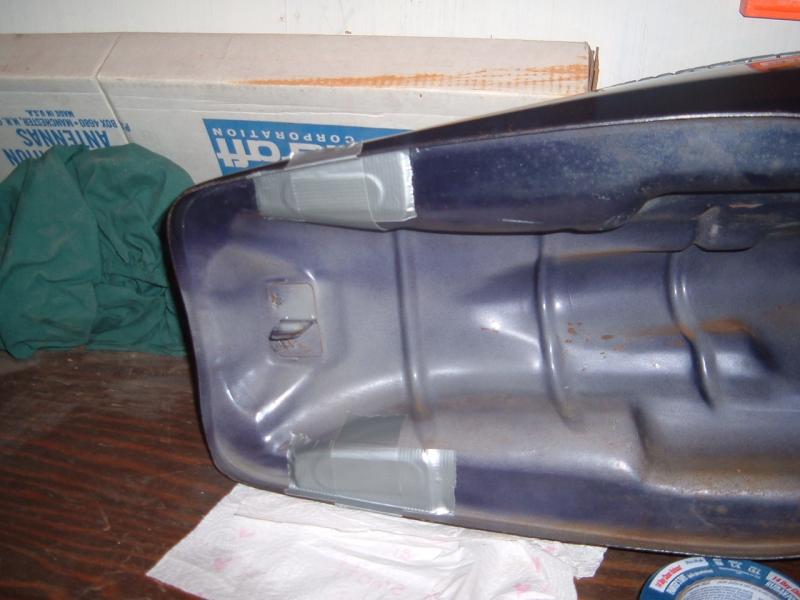
After letting the Tank Sealer dry for a couple of days I snapped these pics of the tank interior:
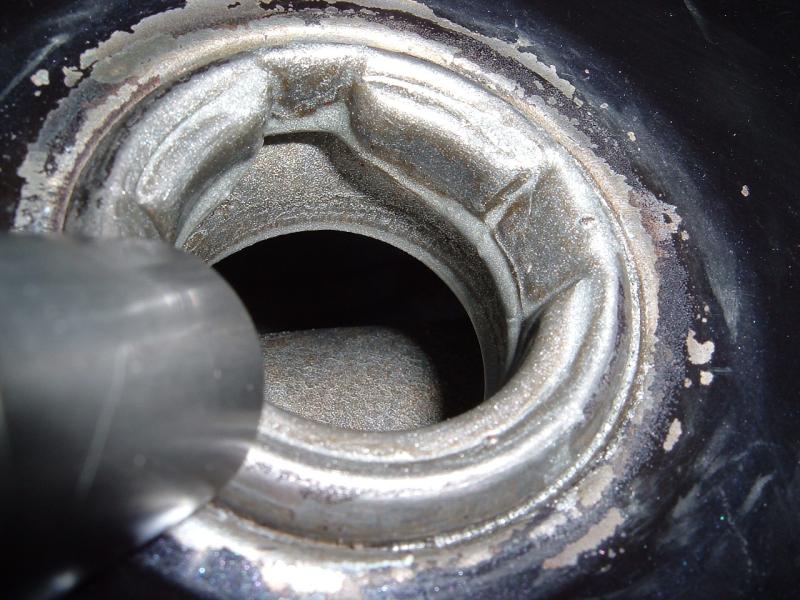
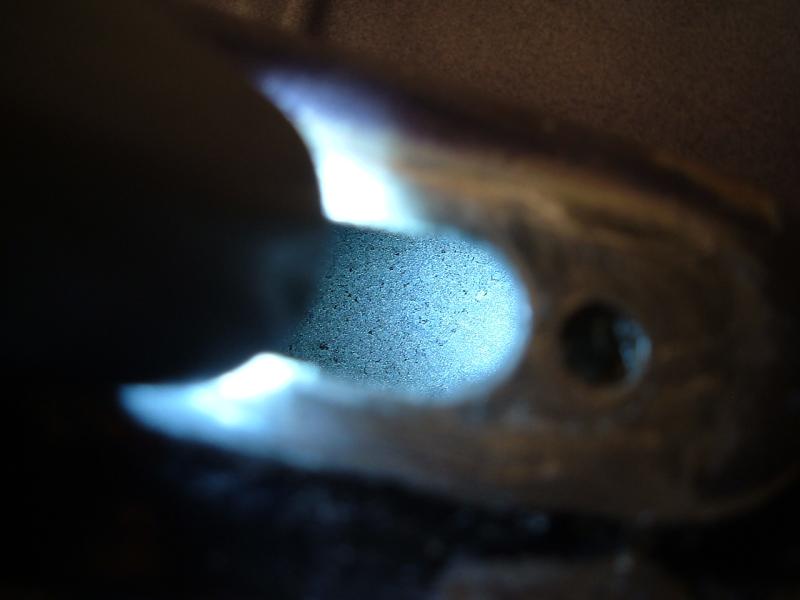
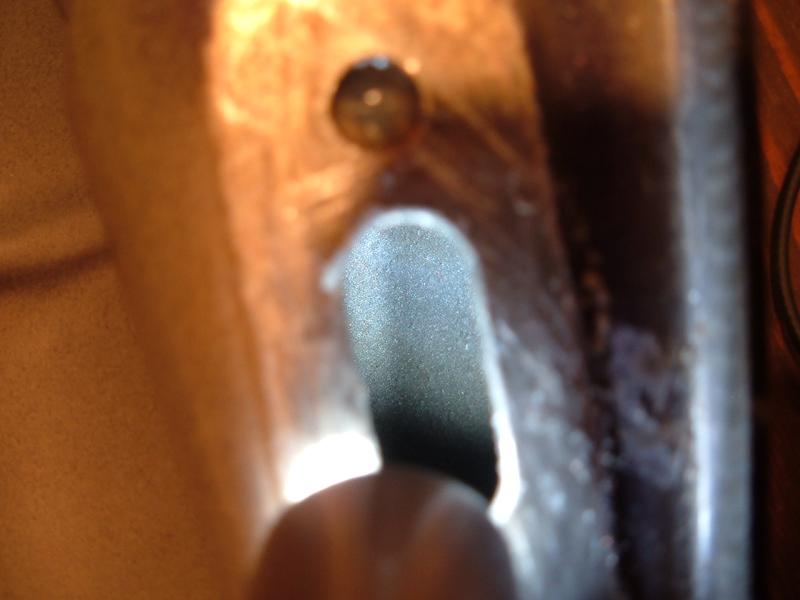
The petroleum jelly had no effect on the Tank Sealer as it didn't disolve the jelly nor stick to it so the bolts should screw in easily.
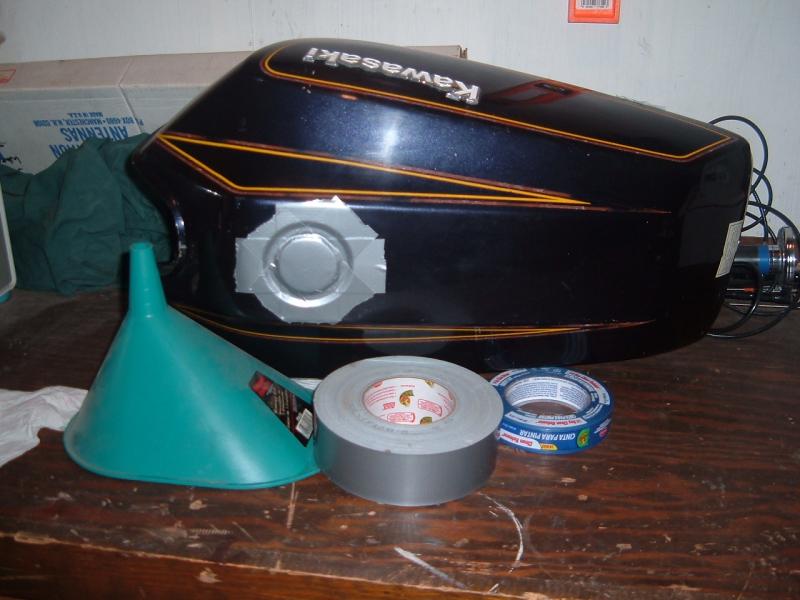
And finally, here are the only before and after pics that I have:
I wish I had tried to take pictures of the top side of the tank through the bottom holes. Oh well, maybe next time!
At this time I've not put the tank back in service, but looking at it as it dries I am satisfied with the outcome. I did not adversely hurt the original paint and I figure that if the tank is 95% sealed that I am ahead of the game. I will be installing an inline fuel filter as the screen around the petcock is shot.
Good luck on your tank project!
